Deploying your Add-on to a Sana web store
Smoke Testing your Add-on
After your Add-on package is assembled, it is highly recommended to perform at least few smoke tests against the manually uploaded Add-on package.
In order to test it using the your local SDK solution, temporarily remove the Paths:Packages:DevelopmentDirectory application setting in the appsettings.Development.config file under the "Sana.Commerce.WebApp" project.
Otherwise, when trying to upload the assembled package into a running web store, Sana will respond with an error that the package with the same identifier is already installed.
Now start the web store from Visual Studio, follow these steps:
- Log in to the Sana admin portal.
- The upload field in Sana Admin is only visible if the following "appsettings.json" settings are enabled:
{
  "Features": {
    "ManageAddons": {
      "Enabled": true
    },
    "UploadAddons": {
      "Enabled": true
    }
  }
}
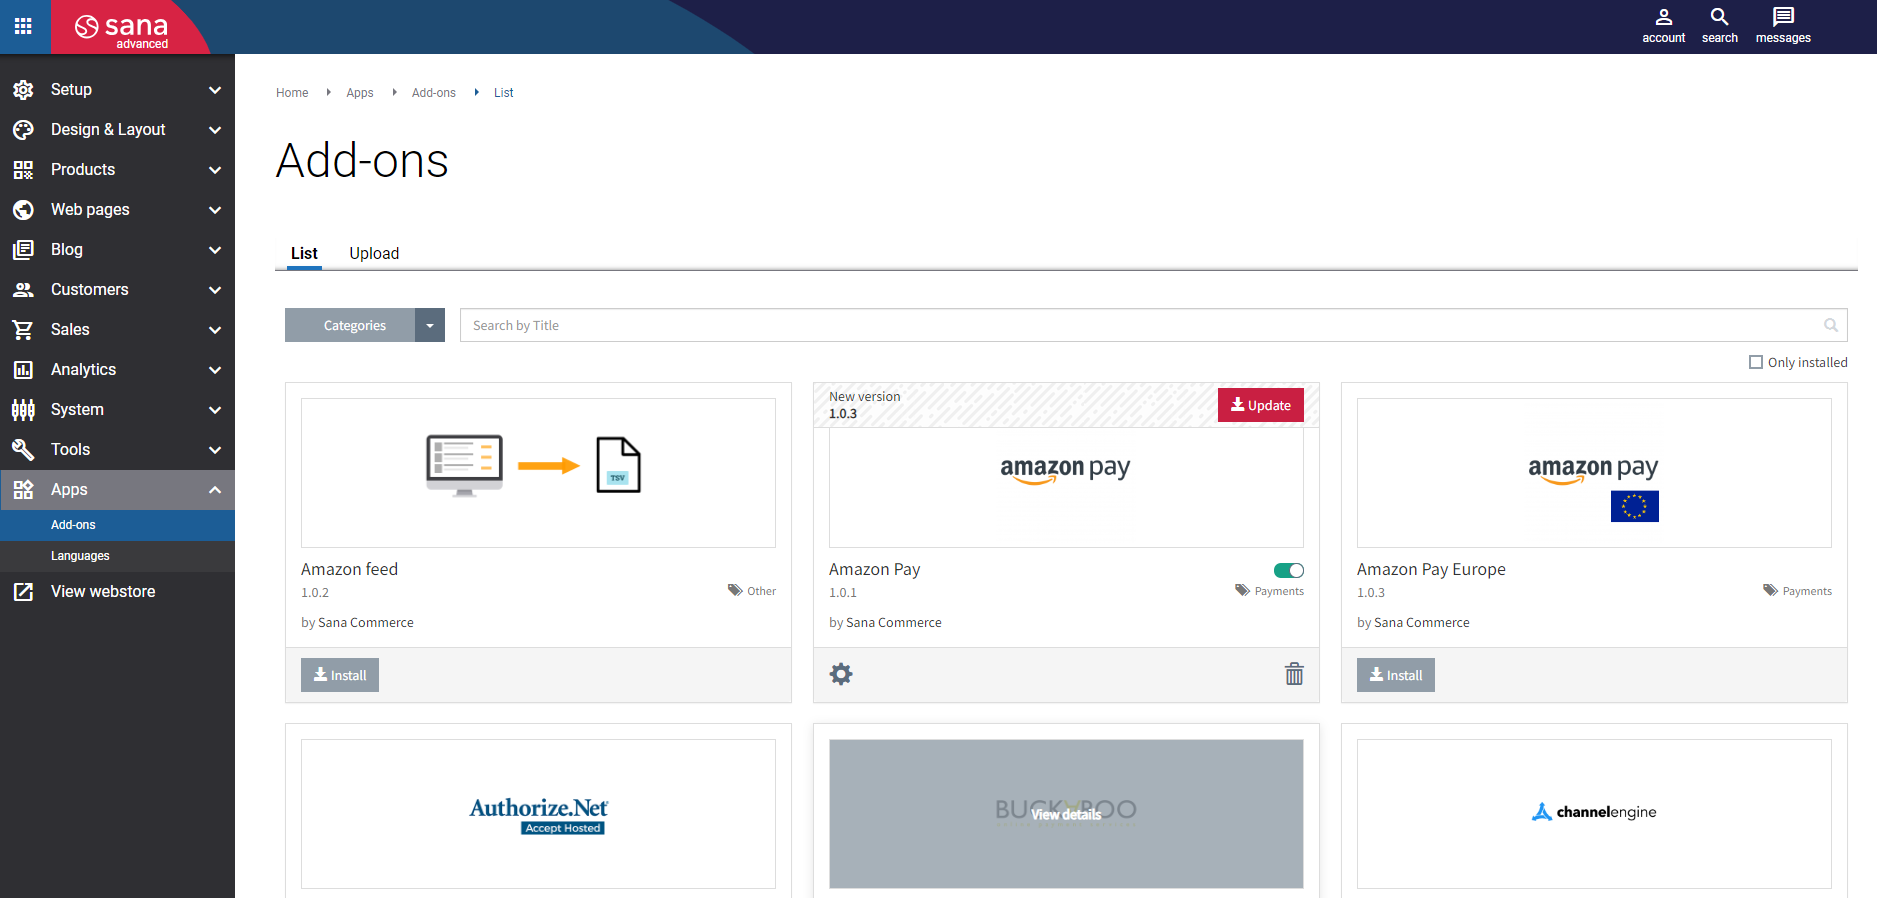
Click on "Apps" in the left-hand menu, then select "Add-ons" from the submenu. For more information on the "Add-on" screen, click here.
Navigate to the "Upload" tab and select the assembled add-on package file with the extension
.sanapkg.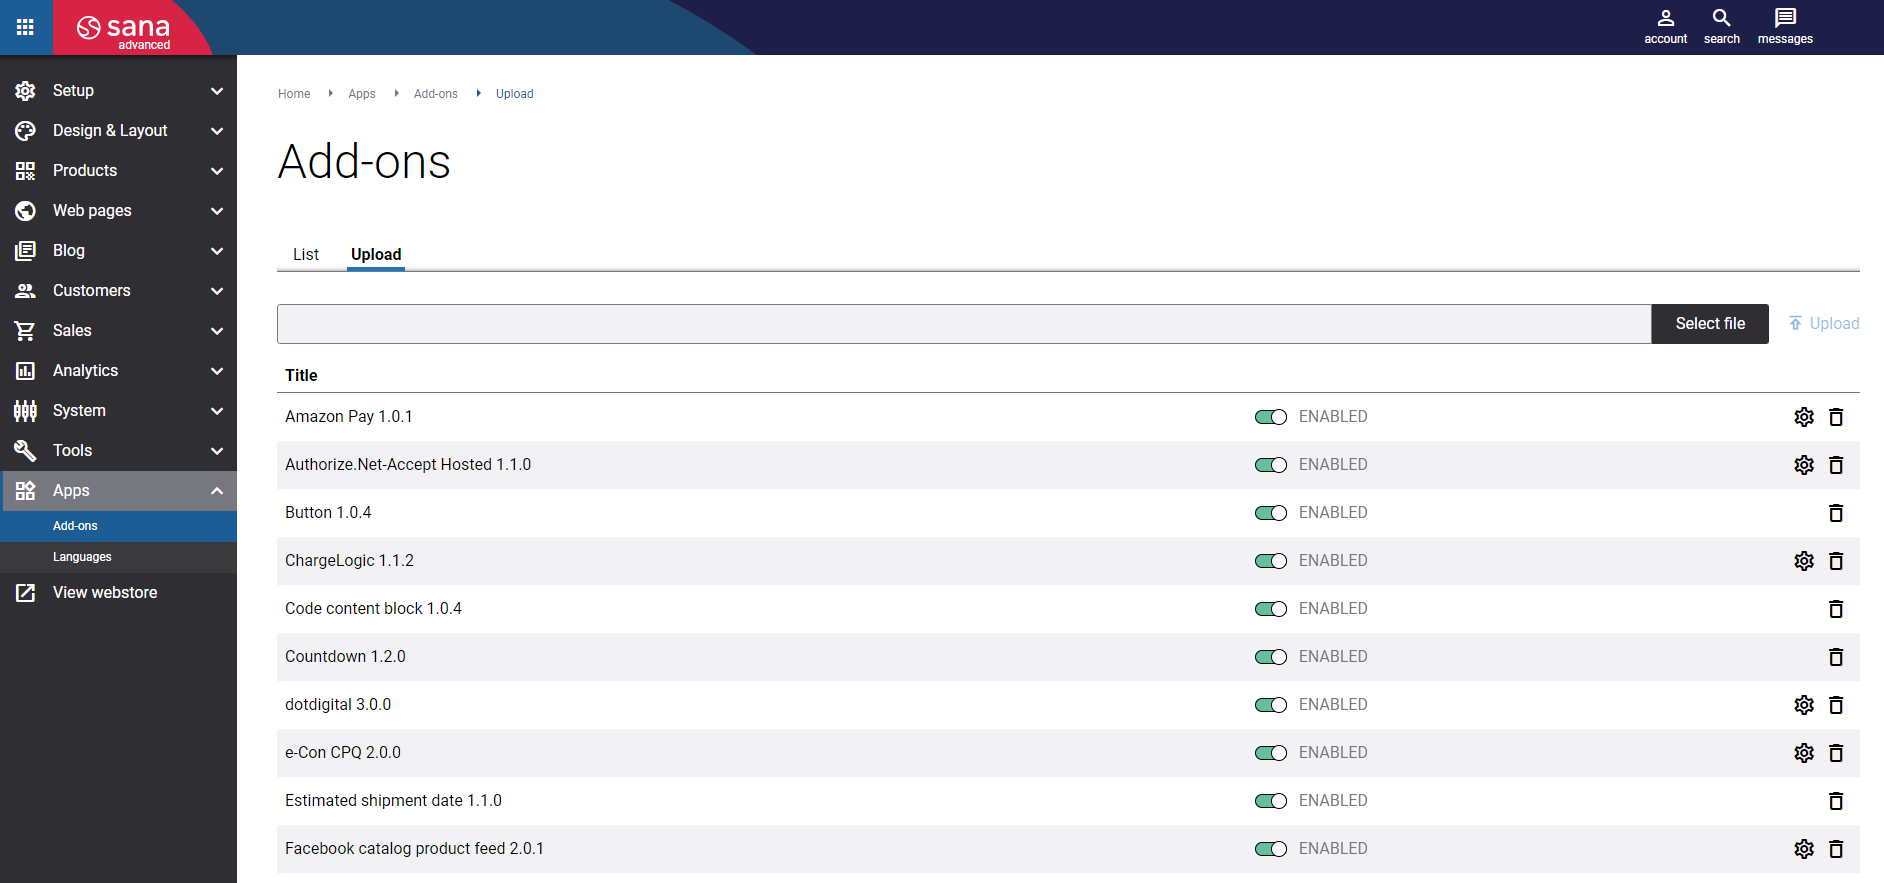

Your add-on should now be visible under the "Add-ons" tab.
Perform the some smoke tests to verify your Add-on is working correctly.
Warning
Don't forget to restore the Paths:Packages:DevelopmentDirectory application setting in the appsettings.Development.config file when you want to switch back to developing/debugging the Add-on.
Deployment
Deploying your Add-on to your customer(s) is done in the same way as shown in the smoke testing step above. Instead of uploading the package to your local development environment's Admin, you either log into your customer's Sana Admin yourself and upload the Add-on there or simply share the Add-on package with your customer directly.
Note
By default, uploading a custom add-on in Sana Admin is disabled. However, this option can be enabled through the Sana Platform
Enabling custom Add-On option on Sana Platform
To begin, log in to the Sana Platform with your credentials.

Select "Installations" from the left menu and click on "All installations"

Locate the SCC installation and click on the customer name.
From there, go to the "Add-On settings" page using the left sub-menu.

In the "Add-on settings" tab, you will see that the Upload add-ons setting is set to "false" by default. Change it to "true" and save your changes. Once the settings change has been approved, the new setting will take effect.

Warning
Changing these settings will cause a one-time downtime, due to the restart of the application.
What's next?
Topics such as the client-side state management, GraphQL API usage, reusing core Sana components etc. are explained in the Content Block Tutorial.